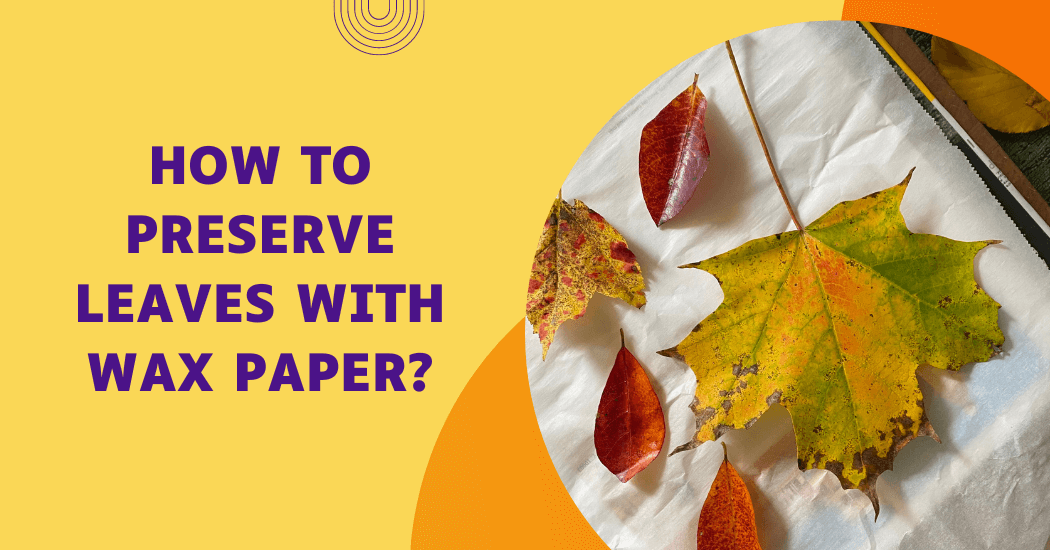
How to preserve leaves with wax paper?
Preserving the beauty of autumn leaves with their vibrant hues can be a delightful hobby. One simple yet effective method to achieve this is using wax paper, a commonly found household item.
This approach retains the leaves’ vividness and makes them durable and pliable for use in various crafts and decorations.
In this blog post, we will walk through a step by step guide on how to preserve leaves using wax paper. Let’s dive into this nature-inspired journey and transform those autumn leaves into lasting keepsakes.
Steps to Preserve Leaves with Wax Paper
A) Material needed for leaves preserving with wax paper
To preserve leaves using wax paper, you will need the following items:
- Autumn leaves: Collect leaves that are dry and free from spots. The more colorful, the better!
- Wax paper: Available in most grocery or craft stores.
- Iron: A regular household iron will do.
- Ironing board or a flat, heat-resistant surface: to safely iron on.
- Thin cloth or towel: To place between the iron and wax paper, preventing the wax from getting on the iron.
- Heavy books or a press: To press the leaves flat.
- Scissors (optional): To cut the wax paper to the desired size.
- Newspaper or any disposable, recyclable paper: To protect the ironing board or surface from any potential wax leakage.
Once you have these materials gathered, we can move on to the procedure of preserving the leaves.
B) Preparing the leaves for preservation
- Selecting the Leaves for Preservation
The first step in the leaf preservation process involves selecting the leaves. Choose leaves that showcase the vibrant colors of autumn – fiery reds, burnt oranges and sunny yellows.
The leaves should be dry, free from spots and not yet succumbing to decay. Ideally, pick leaves that have recently fallen and are not crumpled or torn.
- Cleaning the Leaves to Remove Dirt and Debris: Once you’ve picked your leaves, the next step is to clean them. Gently wipe each leaf using a soft, damp cloth or sponge to remove any dirt or debris. It’s crucial not to scrub too hard as this could damage the leaf surface or cause the colors to fade.
- Drying the Leaves Thoroughly Before Preservation: After cleaning, it’s vital to ensure your leaves are completely dry before moving on to the preservation process. Pat them dry gently using a soft towel or paper towel. Then, lay them out in a single layer on a flat surface to air dry. Ensure the leaves are completely dry to prevent any moisture from being sealed in, which could lead to mold or decay.
C) Process of preserving leaves with wax paper
Once our leaves are prepped and ready for preservation, we can move on to the next step – the wax paper technique. Here’s a step by step guide on how to preserve your leaves with wax paper:
- Place the Leaves on Wax Paper: Start by laying out an appropriate size of wax paper on an ironing board or any other flat, heatproof surface. Arrange your selected leaves in a single layer on the wax paper, making sure they don’t overlap.
- Place a Cloth or Towel over the Leaves: Once your leaves are arranged, place a thin cloth or towel over them to prevent any wax from seeping through and getting on the iron. This will also help protect the delicate leaf surfaces from damage due to direct contact with heat.
- Iron Over the Cloth or Towel: Using a regular household iron, start pressing on the cloth or towel slowly and steadily. The heat from the iron will melt the wax paper underneath, effectively sealing the leaves.
- Remove Excess Wax With a Paper Towel: Once you’ve gone over every part of the leaf with the iron, remove any excess wax with a paper towel or cloth.
- Place a Heavy Object on the Leaves: Finally, place a heavy book or press over the leaves to flatten them and ensure they remain sealed inside the wax paper. Leave in this position for 24-48 hours until completely dry. Once finished, your preserved leaves are now ready to use in crafts and decorations!
Now that you know how to preserve leaves with wax paper, don’t be afraid to experiment with different colors and sizes. You can also add a personal touch by writing initials or messages on the preserved leaves.
Pros and cons of preserving leaves with wax paper
Like any method, preserving leaves with wax paper has its own set of advantages and drawbacks. Here are some key points to consider:
Pros
- Simplicity: The wax paper method is uncomplicated and easy to follow, making it an excellent choice for beginners or children’s projects.
- Accessibility: The materials required for this process (wax paper, iron, towel) are commonly found in most households.
- Color Retention: Wax paper preservation helps to maintain the vibrant colors of autumn leaves, resulting in aesthetically pleasing preserved leaves.
- Affordability: Compared to other methods like glycerin bath or laminating, preserving leaves with wax paper is relatively low cost.
Cons
- Fragility: Leaves preserved with wax paper can be quite delicate and may tear or get damaged if not handled with care.
- Permanence: This method doesn’t make the leaves as long-lasting as laminating or as supple as a glycerin bath.
- Wax Residue: There can sometimes be a residue of wax left on the leaves, which might not be desirable for some crafts or decorations.
- Heat Exposure: Due to the use of an iron, there’s a risk of burning the leaves if not careful.
Despite these cons, the wax paper method’s pros, particularly its simplicity and accessibility, make it a popular choice for leaf preservation.
Alternative methods of preservation
While preserving leaves with wax paper is a popular method due to its simplicity and accessibility, there are other techniques you may want to consider.
Each has its own set of advantages and might be better suited to your specific needs.
- Glycerin Bath: This technique involves immersing the leaf in a mixture of water and glycerin. Glycerin is a versatile substance that replaces the water in the leaf, keeping it supple and preventing it from drying out. However, this method can be a bit more costly and time-consuming than wax paper preservation.
- Pressing: Pressing leaves in a book or leaf press is another common preservation method. This technique flattens the leaves, making them ideal for scrapbooking or other flat crafts. But, the color retention isn’t as vibrant as with wax paper or glycerin.
- Laminating: Laminating involves encasing the leaf in plastic, which can provide a high level of protection and longevity. The downside is that the leaf may look less natural and not everyone has access to a laminator.
- Microwaving: This is a quick method to dry and preserve leaves. However, it can be tricky to get the timing right and there’s a risk of burning the leaves.
On comparing these methods with wax paper preservation, the latter stands out for its simplicity, low cost and color preservation. It might not provide as much durability as laminating or as much suppleness as glycerin but it offers a solid middle ground that makes it a popular choice for many leaf preservation enthusiasts.
Also Read: Can Wax Paper Go In The Oven?
Tips for successful leaf preservation
To ensure the success of your leaf preservation project, here are some useful tips and common mistakes to avoid:
- Selecting the Right Leafs: Choose leaves that are free from any damage or disease and are not too dry or too fresh. Leaves with vibrant and varied colors often yield the most visually appealing results.
- Avoid Overlapping: When arranging leaves on the wax paper, make sure they do not overlap. Overlapping could cause incomplete sealing and preservation.
- Heat Control: Be mindful of the heat setting on your iron. Too much heat could burn the leaves or cause the wax to seep out excessively. On the other hand, too little heat might not effectively seal the wax paper.
- Avoid Rushing: Patience is key in the process of leaf preservation. Do not rush the drying phase – ensure leaves are completely dry before proceeding to the next step.
- Handling with Care: Remember, preserved leaves are delicate. Handle with care to avoid any damage.
- Storage: Store preserved leaves flat in a cool, dry place. Avoid exposure to sunlight to prevent color fading.
By keeping these tips in mind and avoiding common mistakes, you can enhance the success of your leaf preservation project.
Final Words
In conclusion, preserving leaves with wax paper is a simple and effective method to retain the natural beauty of leaves while protecting them from decay and deterioration.
This process involves carefully selecting leaves, pressing them between sheets of wax paper and applying heat to fuse the layers. The resulting preserved leaves can be used for various decorative and artistic purposes.
By following the steps we outlined in this guide individuals can enjoy the enduring charm of leaves throughout different seasons, connecting them with nature’s exquisite creations for years to come.
Remember that experimentation and attention to detail will contribute to achieving the best results, ultimately enhancing the aesthetic appeal and longevity of your preserved leaves.