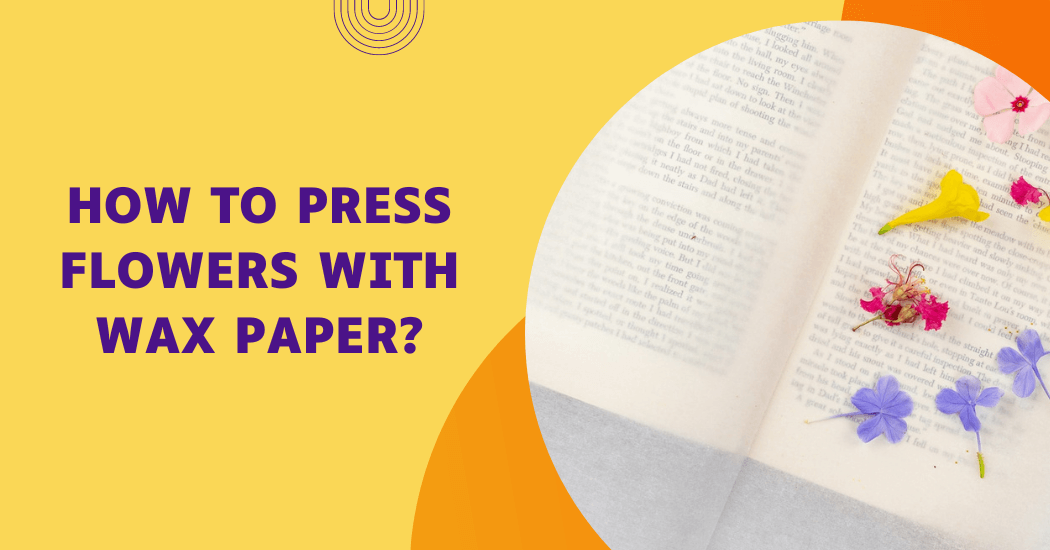
How To Press Flowers With Wax Paper?
Are you looking for a creative way to preserve your flowers? With wax paper flower pressing, you can enjoy and admire the beauty of your favorite blooms all year round. Not only is it an easy process that anyone can do at home but it’s also extremely cost-effective since all you need is some wax paper and a few basic supplies.
In this blog post, we’ll walk you through all the steps needed to press flowers with wax paper so that when you’re finished, your pressed flowers will be preserved in their most beautiful form. So read on.
Materials Needed for Wax Paper Flower Pressing
Before we get started with the flower pressing process, let’s gather all the necessary materials. This project requires the following items:
- Flowers: You can use any flowers of your choice, just make sure they’re freshly picked and free from any blemishes.
- Wax Paper: You can find wax paper in the baking aisle of your local supermarket.
- Book or Flower Press: A large, heavy book or a flower press is needed to press the flowers. If you don’t have a flower press, any heavy book will work just as well.
- Iron: A basic household iron will be used to help set the wax paper.
- Paper Towels: These will be used to absorb excess moisture from the flowers and protect your ironing surface.
- Ironing Board or Flat Surface: You’ll need a flat surface to press your flowers on. An ironing board is ideal but any flat surface will do.
Once you have all your materials ready, you’re set to start the wax paper flower pressing process. Follow along with the next steps in our guide to create your own beautiful, preserved flower art.
Preparing the Flowers
Before starting the pressing process, it’s important to prepare your flowers correctly.
Not every flower is ideal for pressing; some retain their color and shape better than others. Flat flowers like pansies, violets and daisies make for excellent choices, as they naturally lend themselves to the pressing process. However, you can also experiment with different kinds of flowers to see the outcomes.
When you pick the flowers can significantly impact the result. The best time to pick flowers is in the morning after the dew has dried but before the heat of the day. Flowers picked at this time tend to have the brightest colors and are at their freshest.
Once you’ve picked your flowers, gently remove any dirt or insects from the petals. If the flowers are too moist, lightly dab them with a paper towel. Be careful not to damage the petals during this process. Once they’re clean and dry, they’re ready for pressing.
How to press flowers with wax paper? Steps to Follow
Now that you have your flowers prepped and ready, let’s begin the wax paper flower-pressing process.
Here is a step by step guide to help you get started:
- Place the flower between two layers of wax paper and sandwich it into place by placing another piece of wax paper on top. Make sure there are no gaps and all the petals are sandwiched securely.
- Place the wax paper-sandwiched flowers on top of a paper towel and then lay them between two heavy books or in your flower press. Make sure there is enough pressure to ensure that all the petals are completely flattened out.
- Set your iron to the lowest heat setting and begin pressing. Make sure to move the iron around in a circular motion and press for no longer than 10-15 seconds at a time.
- Once you have pressed all your flowers, let them cool down completely before removing them from the wax paper and books/flower press.
- Once cooled, carefully remove the wax paper sandwiches from between the books or from the flower press.
- Your flowers are now ready to be framed, used as gift decorations or simply enjoyed as they are!
By following these steps and using wax paper for your flower-pressing projects, you’ll find that your pressed flowers look great and last much longer than if they weren’t pressed with wax paper. Wax paper also helps protect
Tips for Better Results
- Always use fresh flowers for the best results: The fresher the flowers, the more vibrant the colors will be when they’re pressed.
- Experiment with different flowers and leaves: Each type of flower or leaf will produce a unique result when pressed.
- Don’t rush the drying process: Allow your pressed flowers to dry completely before using them in your projects. This can take anywhere from a few days to a couple of weeks, depending on the thickness and moisture content of the flowers.
- Be creative with your flower arrangements: You can create beautiful designs by arranging your flowers in different patterns before pressing them.
Common Mistakes to Avoid
- Avoid using flowers that are too bulky or have a high moisture content: These types of flowers can cause your wax paper to become soggy and reduce the quality of your pressed flowers.
- Don’t use too much heat when pressing your flowers: Excessive heat can cause the colors of your flowers to fade.
- Avoid pressing flowers for too long: Over pressing can make the flowers brittle and more likely to break.
Did you know: Does epoxy stick to wax paper?
Troubleshooting Issues with Pressing Flowers
- If your flowers are not drying properly, try increasing the pressure or the heat slightly. But remember, too much heat can cause the colors to fade.
- If your pressed flowers are curling up at the edges, they may not have been pressed long enough. Try pressing them for a little longer.
- If your flowers are losing their color, it may be because they were not fresh when you pressed them. Always use fresh flowers for the best results.
- If you’re having trouble removing the flowers from the wax paper, try peeling the paper away slowly and carefully. If the flowers are still stuck, you can use a pair of tweezers to gently remove them.
With these tips and troubleshooting guidelines, you’ll be well-equipped to create beautifully preserved flowers with the wax paper flower pressing method.
Long-term Storage of Pressed Flowers
The art of pressing flowers with wax paper is a wonderful way to preserve their beauty and maintain their appearance for long-term storage.
To secure the best results and avoid fading and discoloration, follow these steps:
- Fully Dry the Flowers: Ensure that the flowers are completely dry before pressing them. Any residual moisture can lead to mold and deterioration during the pressing process.
- Pressing the Flowers: Arrange the flowers between two sheets of wax paper, ensuring that they are distributed evenly and not overlapping. Then, compress the flowers either between heavy books or in a flower press, applying consistent pressure to flatten the flowers evenly.
- Choose a Suitable Container: Opt for an airtight container that is sufficiently large to house the pressed flowers, preventing them from being crumpled or folded.
- Use Acid-Free Paper: If possible, pair the wax paper with acid-free paper to minimize the risk of deterioration and discoloration over time.
- Store in a Dark, Cool and Dry Place: Keep the container away from direct sunlight to prevent fading caused by UV rays. A cool and dry environment is the ideal storage condition.
Also Know: Can you freeze wax paper?
Preventing Fading and Discoloration:
- Avoid Sunlight Exposure: Sunlight can significantly cause fading in pressed flowers. Store the container in a location that avoids direct exposure to sunlight.
- Limit Handling: Frequently handling the pressed flowers can lead to color fading and damage. Try to limit touching the flowers and if necessary, use clean, dry hands or tweezers for handling.
- Keep Away from Heat Sources: High temperatures can accelerate the deterioration of pressed flowers and cause quicker fading. It is best to avoid placing the container near heat sources such as heaters or stoves.
Maintaining the Flowers’ Appearance:
- Use Anti-Fading Products (Optional): Certain preservation sprays or products designed for pressed flowers can help slow down the fading process. Seek out products that are specifically labeled for this purpose and adhere to the instructions provided carefully.
- Check for Mold or Insects: Regularly inspect the pressed flowers for signs of mold or insect infestation. If you spot any problems, gently remove the affected flowers and transfer the remaining ones to a new wax paper setup.
- Display with Care: If you plan to display the pressed flowers, use a frame that is fitted with UV-protective glass to minimize fading caused by exposure to sunlight.
By adhering to these best practices, you can extend the lifespan of your pressed flowers and continue to appreciate their beauty for years to come.
Conclusion:
In conclusion, pressing flowers with wax paper is a simple and effective method to preserve the beauty of fresh blooms for various purposes, such as crafting, decorating or sentimental keepsakes.
By following the easy steps outlined in this guide, you can create stunning pressed flower designs that retain their vibrant colors and delicate forms. Remember to select fresh, high-quality flowers, handle them with care during the pressing process and store the pressed flowers in a cool, dry place to ensure their longevity.
With a little creativity and patience, you can enjoy the timeless charm of pressed flowers in your artistic endeavors or cherish them as cherished mementos for years to come.